A Punch in the Eye
 There is jewellery out there that is subjectively unappealing … and then there is jewellery that is unquestionably and irrefutably downright ugly. In the case of the former, there might be someone out there who might like it, in the case of the latter: if you like it, there’s something wrong with you. As one of my friends and I like to say: there’s good bad design, and just plain bad.
An item designed with sound principles in mind* – composition, balance, scale, colour, medium – and executed well may nevertheless be unappealing to some. Beauty is in the eye of the beholder after all. Sometimes it’s a punch in the eye. But when a product is crafted without consideration of these fundamental criteria, then all bets are off. In face of a fan we can presume the ugly product in question is a mirror of their bad taste.
Beauty is in the eye of the beholder after all. Sometimes it’s a punch in the eye.
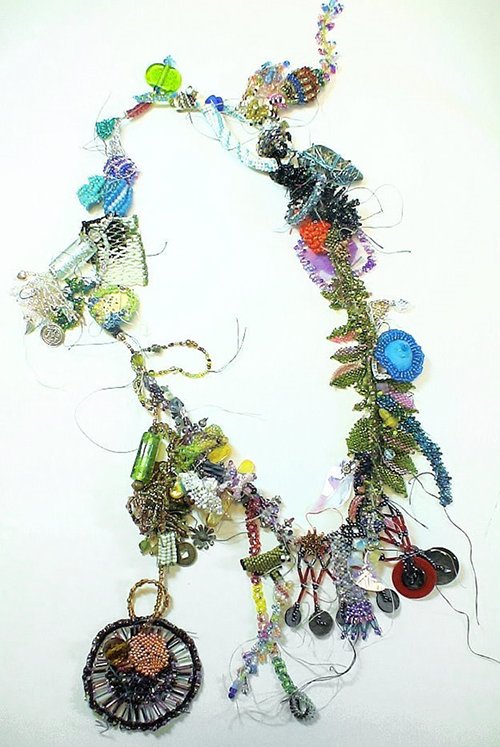
A newsletter from a jewellery supplies website Land of Odds appeared in my inbox this morning, and when I clicked on it I saw an image of an extremely ugly necklace. “Gosh that’s ugly,” I thought, and then saw that it was in fact advertising the annual Ugly Necklace competition that the website runs. This is an interesting challenge; as the competition promoters state: ‘It ain’t easy doing ugly, or as my momma says, “Ugly is as Ugly does.”’.
A talented and skilled artisan is not naturally given to creating something ugly. However, there are some who have managed to overcome this natural diffidence.
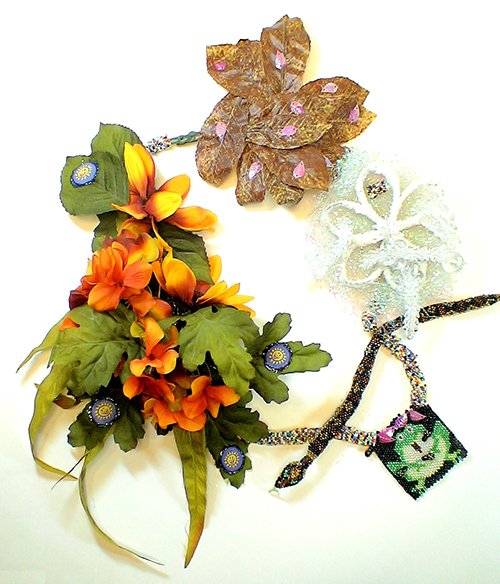
Although these first three examples of ugly necklaces are undeniably frightful, there is some coherence to their design: the materials used bear some relationship to one another. The last necklace owes its overall ugliness to the juxtaposition of its diverse materials. These separate components broken apart would be repellent enough, but combined into one disparate and ghastly whole, this necklace enters into another realm of ugliness entirely.
Scroll down and you be the judge.
* Click here to read about fundamentals of good jewellery design
All images from Land of Odds Ugly Necklace competition

Wigging Out
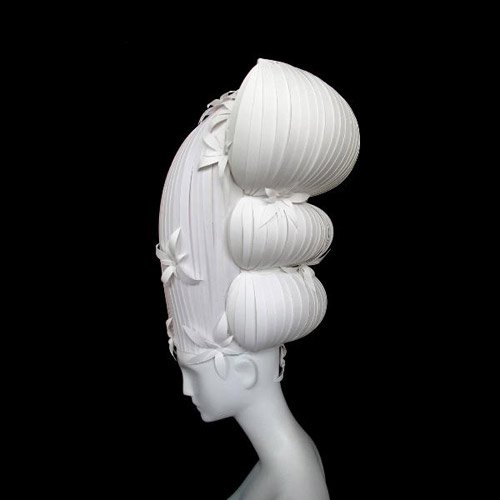 Aren’t these paper replicas of eighteenth century wigs extraordinary? I have to admire anyone with the patience and skill to create intricate sculptures out of paper. Nikki Nye and Amy Flurry, who co-founded the Paper-Cut Project in 2009 are such a pair. These wigs were created for the Bay Holiday windows and are only one of many such projects.
 The Atlanta-based duo has been commissioned by top fashion houses and galleries, including Hermès, Cartier, Kate Spade and Valentino. They recently collaborated with the Victoria & Albert museum to create paper wigs for the Hollywood Costume exhibit – unfortunately these did not travel with the rest of the exhibition (which is currently showing at ACMI) to Melbourne. See more of their intricate work at Paper Cut Project.


Love Knots
 Boutonnière :: Tinto 1848 // C-Type Plate // No flash
 Vintage 1920s lingerie pin from Beautiful ReignI often make jokes about ‘researching’ stories on Etsy as opposed to merely wasting time window-shopping, but on the odd occasion it’s true. One discovery in the store Beautiful Reign while on a search on 1920s boudoir caps led to some craft-making. I thought these ribbon flowers were very pretty, but never bought them. After they were sold, I decided I could very likely make my own.
 You’re A Peach :: Tinto 1848 // C-Type Plate // No flashIt’s not so easy to find modern ribbon made from silk, or even rayon, and I decided to use inexpensive polyester for my prototype. I purchased 2 metres of 6mm ribbon in a peachy colour, a typical 1920s lingerie shade.
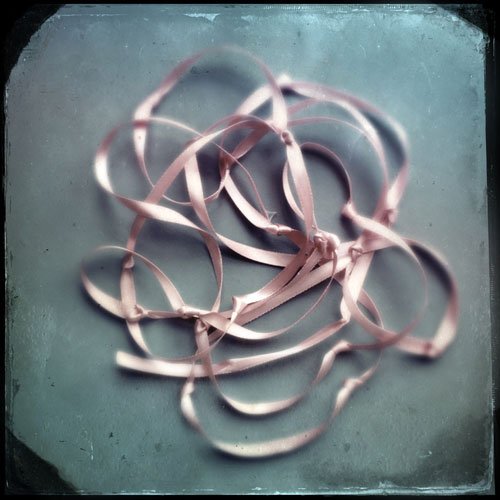 Love Knots :: Tinto 1848 // C-Type Plate // No flashBy carefully examining the originals, I determined a method to simulate them. They were 2¼ inch in diameter, so I estimated one knot about every 10cm would suffice. These knots, by the way, I discovered were referred to as ‘love knots’. Experimenting with the size of the loops, I saw that I would need to use the entire 2m on one flower, not two as I’d originally supposed.
 Sew Easy :: Tinto 1848 // C-Type Plate // No flashOnce I had finished tying fairly loose knots along the entire length (leaving about 15cm untied at each end just in case I should require it), I began forming and sewing the loops together. (Don’t use a rusty needle as I did!)
 All Tied Up :: Tinto 1848 // C-Type Plate // No flashThe flower was completed with a last knot over the middle to hide the stitches.
 Pinned :: Tinto 1848 // C-Type Plate // No flashAmongst my supplies I already had a couple of spare brooch pins, and using the extra ribbon from each end, I attached the flower to the pin and wrapped ribbon around the base. It’s a much nicer finish than the original 1920s versions, if I do say so myself. Some flapper had lazily stitched the flowers to safety pins.
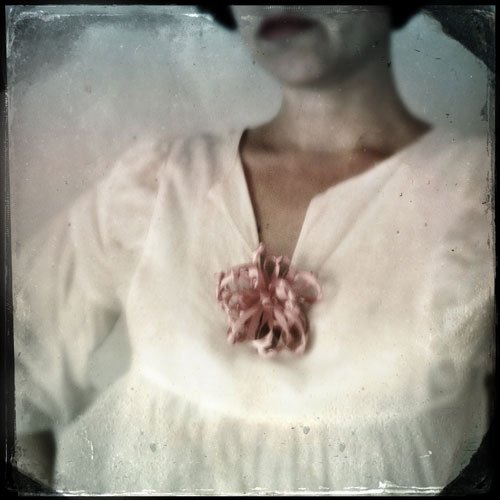 Be Flowered :: Tinto 1848 // C-Type Plate // No flashMy flower ended up a little bigger, about 10cm or 3” across, but I think they are not too shabby for a first attempt. Certainly a natural fibre ribbon would sit, and feel, much nicer too.
Right, back to Etsy for some legitimate late-night shopping for vintage ribbon …
Pom-Tiddly-Pom
 Pom-Tiddly-Pom :: Tinto1848 // C-Type Plate // No flash
A Crafty Adventure
Yesterday I made a pompom. It is red, and it is enormous. And it is made to sit on the head. I figured, if one is going to wear a pompom on the head, it may as well be huge and make a statement. After all, all sorts of oversize headpieces have been in the fashion news in the last year: rabbit ears, bows, and giant pieces of fruit, so why be shy? Being a wallflower never got anyone anywhere.
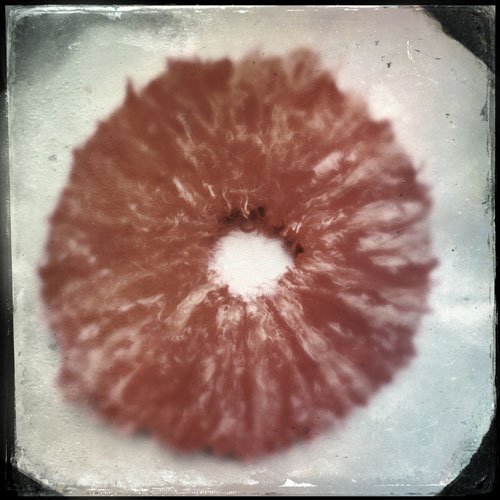 Round and Round She Goes :: Tinto1848 // C-Type Plate // No flashIt is very easy to make a pompom. Cut two circles out of cardboard. Cut smaller circles in the middle. Wind yarn round and round and round (finishing with the end on the outside edge). Make it fat.
 Flutter and Entice :: Tinto1848 // C-Type Plate // No flashTo clarify: for thick yarn wind 4–5 times around; for thin, 8–9 times. I preferred to err on the side of caution, for though I was using two types of yarn, they were both quite skimpy. I used both skeins entirely. (Note these yarns are both a true pillar-box red; the C-Type plate film is quite deceptive.)
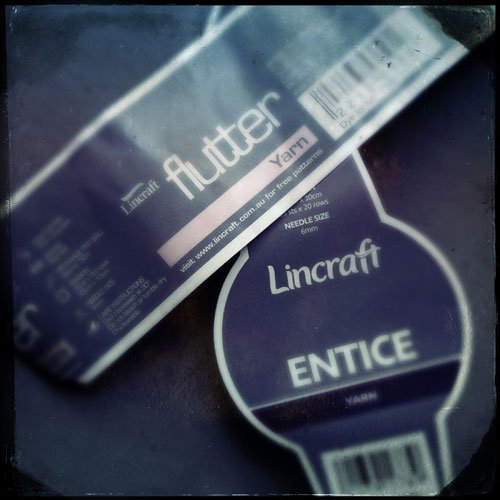 Lincraft Yarn :: Tinto1848 // C-Type Plate // No flashI wanted my pompom to be very thick and dense, and had specifically chosen yarns with texture and character. Originally I wanted chenille, but could not actually find any to purchase. These yarns are both acrylic, but are very soft to the touch – one kinda hairy (Entice), the other something like a very fine fringe (Flutter).
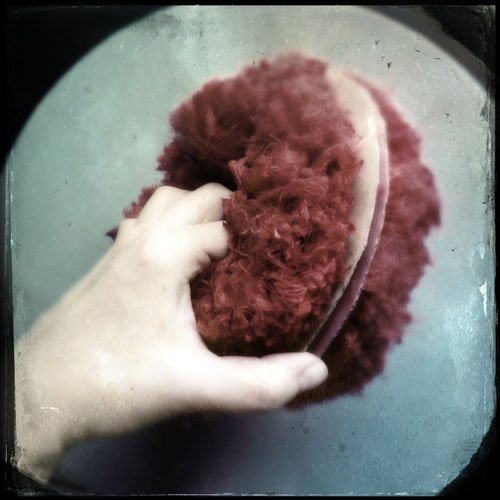 Pompom Flavoured Donut :: Tinto1848 // C-Type Plate // No flashCut all around the edges, slipping the blades of your scissors between the two pieces of cardboard. You will end up with a fat donut. Insert a piece of yarn between the circles, wind and knot tightly.
 Peppermint Sticks :: Tinto1848 // C-Type Plate // No flashBecause I intended to attach my pompom to a headband and wanted something stiff to support it, I also tied it with a chenille pipecleaner. I found some very charming peppermint stick types in a two-dollar shop – for $2, in fact.
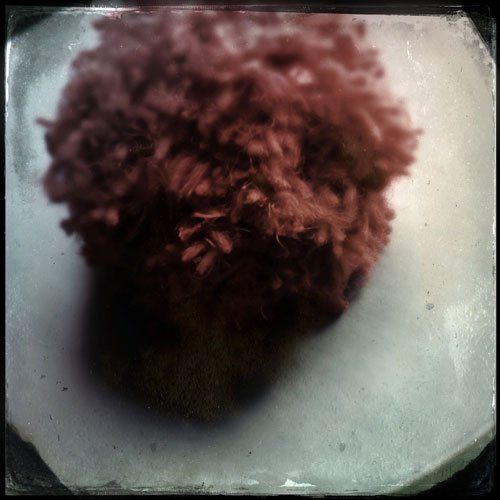 Pompom :: Tinto1848 // C-Type Plate // No flashOnce the pompom is tied-off, I plumped it up and trimmed all the sticky-outy ends. By nature of the type of yarn I used it will probably always look raggedy, although I am quite pleased with this aspect; too uniform is boring. I love it – it is so nice and plump and has a lovely weight.
 The Biggest Pompom :: Tinto1848 // C-Type Plate // No flashI twisted the ends of the pipecleaners around a black satin-covered headband to attach the pompom, and voila! Wearing it today however I discover it is heavy enough that I must keep my head upright or the headband slips forward under the weight of the pompom. This actually does wonders for my posture, which is undoubtedly a good thing, but it would probably be worth considering using a wider headband as a base.
Knit Wit
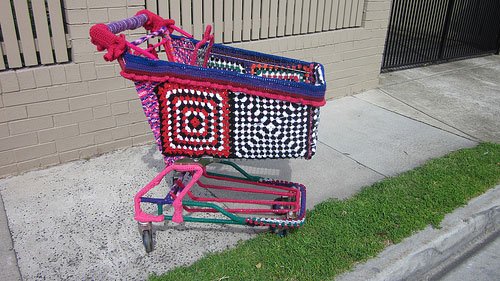
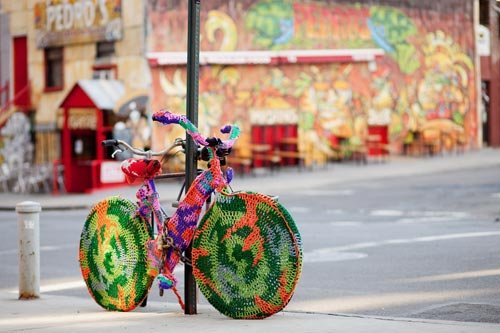 Knitting gets a twenty-first century makeover when crafty folk take to wrapping the streets with their handiwork. No object, stationary or not, is too small or too large, from trees to cars to park benches – a yarn bomber will knit with wit.
We are so used to seeing graffiti sprayed on walls, we’ve become blasé, but we can’t do that with yarn bombing just yet. It’s not flat, it’s three-dimensional and that is what’s so wonderful about it. It’s surprising, makes us laugh with astonishment, and feel all warm and fuzzy on the inside to think that we can add to the beauty of nature – or beautify the ugliness of our urban environment – with something that is colourful yet harmless. Thank you all you crazy and dedicated knitters out there!
Read more at Jafagirls.

